Create or update an App ID
If you already have an identifier, skip to the next step.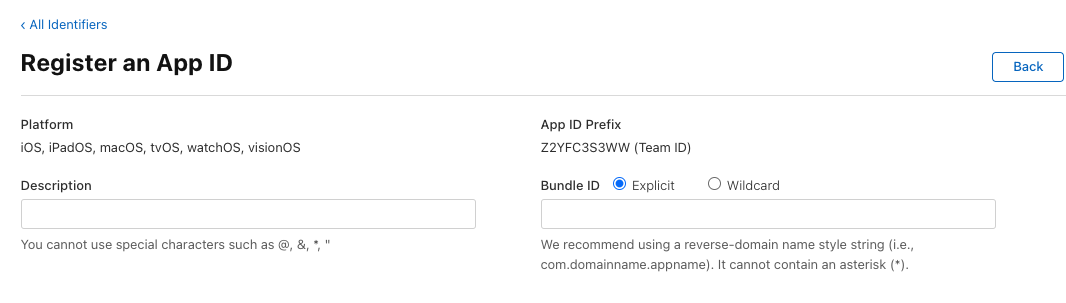
- Go to the Identifiers section of the Apple Developer Console.
- Click on the ”+” button to create a new identifier.
- Select “App IDs” from the dropdown and click “Continue”.
- Fill in the description and bundle ID fields.
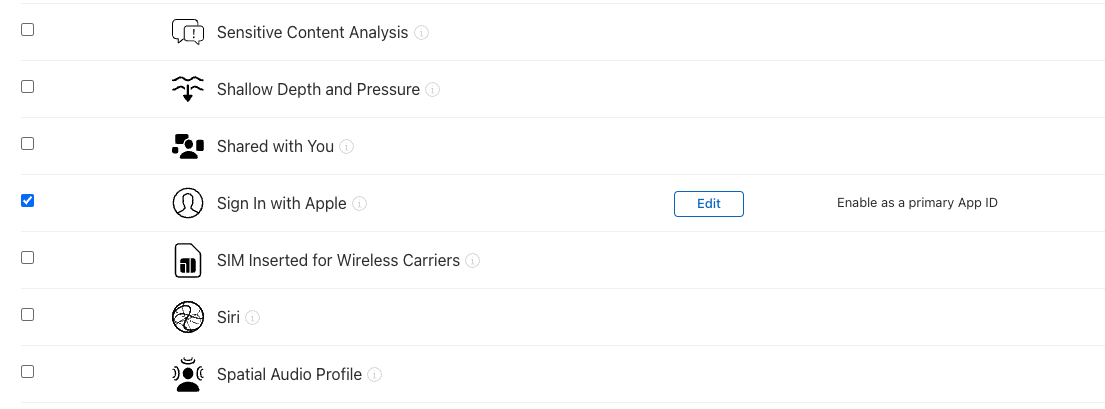
- Scroll down to the “Capabilities” section and enable “Sign in with Apple” for your App ID.
- Click “Continue” and then register the App ID.
Create or update a Service ID
If you already have a service ID, skip to the next step.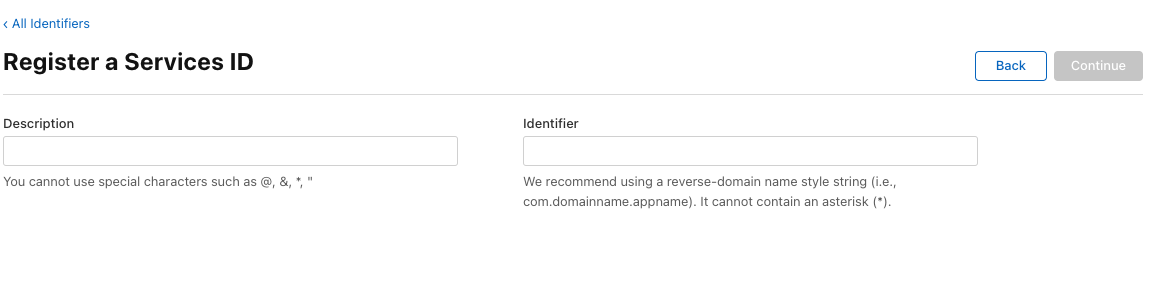
- Go to the Identifiers section of the Apple Developer Console.
- Click on the ”+” button to create a new identifier.
- Select “Services IDs” from the dropdown and click “Continue”.
- Fill in the description and identifier fields.
- Click “Continue” then “Register”.
Enable Sign in with Apple in Supabase
- Go to your Supabase project.
- Click on the “Authentication” tab.
- Click on the Providers inside the ‘Settings’ tab.
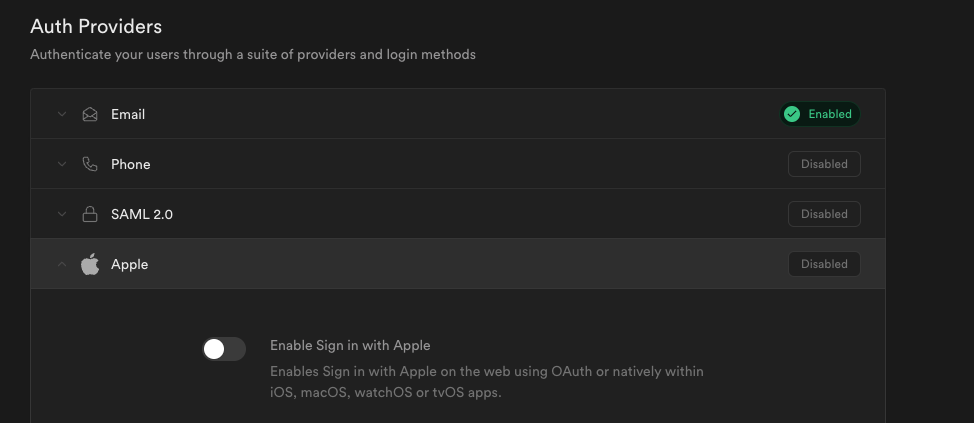
- Find the Apple provider and click the “Enable” button.
- Fill the Authorized Client ID with the “App ID” you created before.
- Copy the Callback URL and save it for the next step.
Configure Sign in with Apple in Service ID
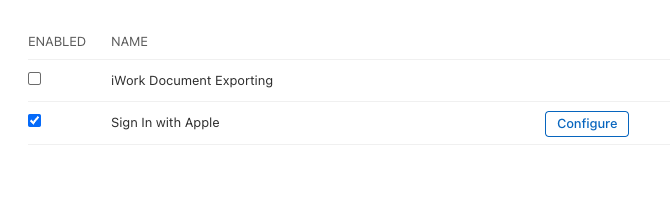
- Click on the Service ID you just created.
- Check the “Sign in with Apple” box.
- Click on the “Configure” button.
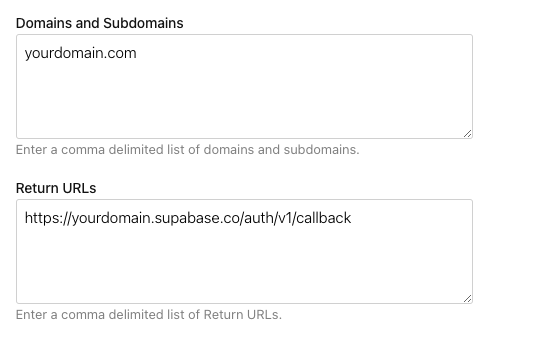
- In the “Domains and Redirect URIs” section:
- Add your desired domain in the “Domains and Subdomains” field.
- Paste the Callback URL you copied in the previous step into the “Return URLs” field.
- Click “Next”, confirm if everything is correct, and click “Done”.
- Click “Continue” and then “Save” to save your changes.