This is a guide to setting up Google authentication with Supabase. Please follow the Supabase Official Documentation for more information. To authenticate with Google, you need to create a Google Cloud Platform project and configure your app in the Google Cloud Console.Documentation Index
Fetch the complete documentation index at: https://docs.launchyourapp.dev/llms.txt
Use this file to discover all available pages before exploring further.
Create a Google Cloud Platform Project
- Go to the Google Cloud Console.
- Click on the “Select a project” dropdown in the top navigation bar.
-
Click on the “New Project” button to create a new project.
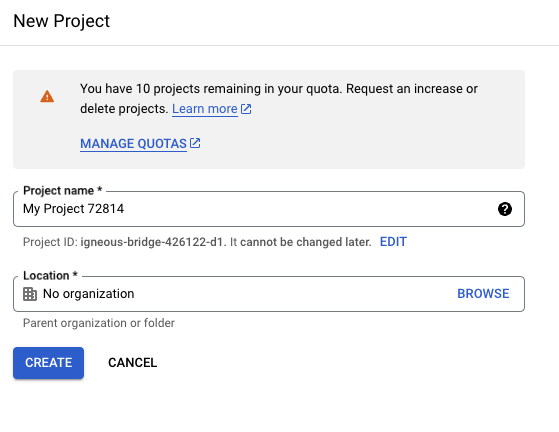
- Enter a name for your project and click on the “Create” button.
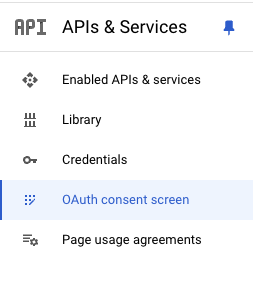
Create OAuth consent screen
- Go to the “OAuth consent screen” page.
- Select the “External” user type.
-
Click on the “Create” button.
- Fill in the required fields and click on the “Save and continue” button.
Supabase Configuration
- Go to the Supabase Dashboard.
- Select your project and go to the “Settings” tab.
- Click on the “Authentication” tab, then the “Providers” tab.
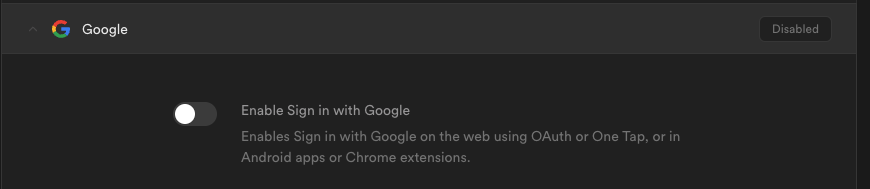
- Select Google.
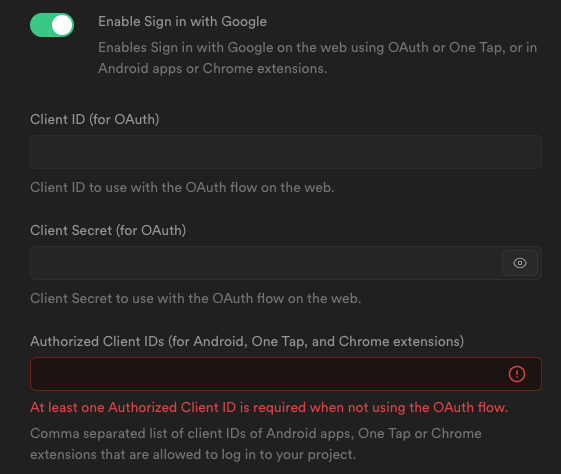
- Toggle “Enable”.
-
Copy your Callback URL for the next step.
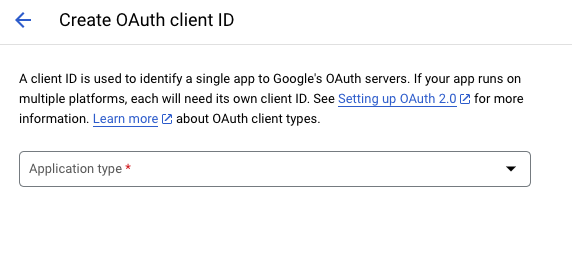
Create OAuth Client ID's
- Return to the Google Cloud Console.
- Go to the OAuth 2.0 Client IDs page.
- Create a new OAuth 2.0 Client ID, selecting your application type.
-
For Web Applications, add the Callback URL you copied from Supabase in the “Authorized redirect URIs” input.

Update tokens in Supabase
- Copy the Client ID and Client Secret (if created web Client ID) from Google Cloud Console.
- Paste them in the Google provider configuration in Supabase.
- Add the Client ID’s in the “Authorized Client IDs” input.
-
Save the configuration.